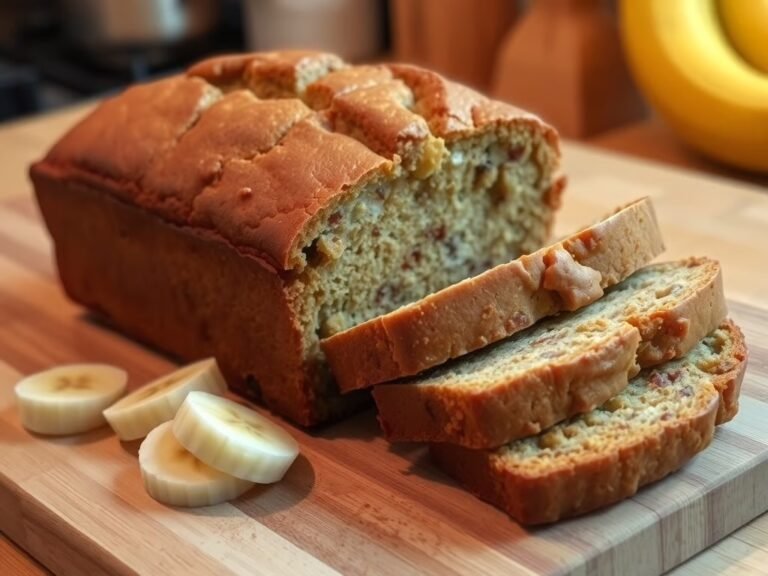
Vintage Old School Loaf Pan Bread
This is bread like your grandparents made, reliable, fragrant, and surprisingly elite for something baked in a humble loaf pan. The crust shatters and the crumb is tender.
The Secret Behind This Recipe
The magic is in the balance of hydration and patience.
A slightly wetter dough gives a softer crumb that stays fresh longer, while a slow rise develops flavor without sugar bombs or weird additives. Using a classic loaf pan shapes the dough into a high-rise slice that’s perfect for sandwiches, French toast, and doorstop butter slabs. The final trick?
Steam in the first 10 minutes to maximize oven spring and get that nostalgic golden crust.
What Goes Into This Recipe – Ingredients
- 3 1/4 cups (390 g) bread flour (or all-purpose in a pinch)
- 1 cup + 2 tbsp (270 ml) warm water (about 105–110°F / 40–43°C)
- 2 1/4 tsp (7 g) instant yeast (or active dry, see notes)
- 2 tbsp (28 g) unsalted butter, softened (or 2 tbsp neutral oil)
- 1 1/2 tsp (9 g) fine sea salt
- 1 tbsp (12 g) sugar or honey (optional, helps browning)
- Neutral oil or butter for greasing the pan
- 2–3 ice cubes for steam (optional but clutch)
Step-by-Step Instructions
- Activate (if using active dry yeast): Mix warm water with sugar and active dry yeast. Let it sit 5–10 minutes until foamy. If using instant yeast, skip this and add directly to the flour.
- Make the dough: In a large bowl, combine flour, salt, and instant yeast (if using).Add water and butter. Mix with a spoon until a shaggy dough forms. Rest 10 minutes (autolyse) to make kneading easier.
- Knead to smooth: Knead on a lightly oiled surface for 8–10 minutes until smooth and elastic.Dough should be tacky but not gluey. Adjust with a teaspoon of flour or water as needed.
- First rise: Place dough in a lightly oiled bowl, cover, and let rise at warm room temp until doubled, about 60–90 minutes. Slow and steady beats overheated and rushed.
- Shape the loaf: Gently deflate and press into a rectangle.Fold the long edges to the center, then roll tightly into a log, pinching the seam closed. Tuck the ends underneath for a clean look.
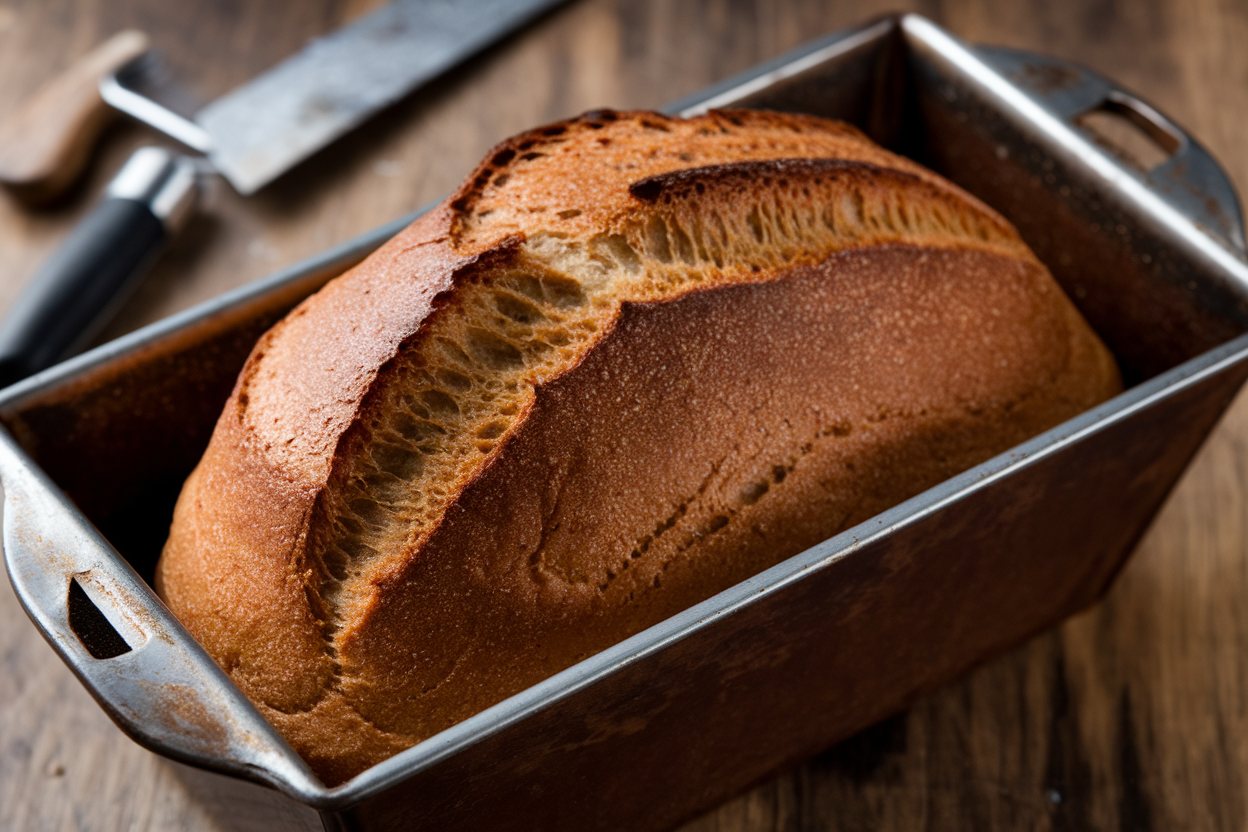
- Pan it: Grease a 9×5-inch (23×13 cm) loaf pan. Place the log seam-side down.Cover with a clean towel or plastic and let proof until the dough crowns about 1 inch above the rim, 45–75 minutes.
- Preheat and prep steam: Preheat oven to 425°F (220°C). Place a small empty metal pan on the lowest rack for steam. Don’t use glass; it can shatter (ask my oven how I know).
- Score and bake: Optional: Lightly score the top with a sharp knife.Put loaf on middle rack, toss 2–3 ice cubes into the hot pan below, and close the door fast. Bake 10 minutes, then reduce to 375°F (190°C) and bake 20–25 minutes more.
- Check doneness: The loaf is done when deeply golden and sounds hollow when tapped on the bottom, or reads 200–205°F (93–96°C) inside. If pale, give it 3–5 more minutes.
- Cool properly: Remove from the pan immediately and cool on a rack for at least 1 hour.Cutting early lets steam escape and turns your crumb gummy—don’t sabotage your own win.
Preservation Guide
- Room temperature: Store in a bread box or wrapped in a clean towel for 1–2 days. For longer, use a paper bag inside a loose plastic bag to balance moisture and crust.
- Freezing: Slice the loaf, wrap tightly in plastic, then foil, and freeze up to 3 months. Toast straight from frozen—A+ convenience.
- Reviving: Day-old loaf?Spritz with water and bake at 350°F (175°C) for 8–10 minutes to refresh the crust.
- Avoid the fridge: It stales bread faster due to starch retrogradation. Counter or freezer only, IMO.
Health Benefits
- Clean ingredients: No preservatives, conditioners, or mysterious “enrichment.” Just flour, water, yeast, salt, and a touch of fat.
- Better satiety: Fresh bread with adequate protein (from flour) and a bit of fat keeps you fuller than ultra-processed slices.
- Reduced sodium control: You control the salt, which matters for blood pressure management.
- Fermentation perks: A slower rise can improve digestibility and flavor; your gut might thank you.
Don’t Make These Errors
- Water too hot: Anything above 115°F (46°C) can nuke yeast. Warm, not scalding.
- Over-flouring the dough: A slightly tacky dough bakes softer.Adding tons of flour equals brick energy.
- Skipping the cool-down: Cutting hot bread compresses the crumb and leaks moisture. Patience = bakery-level slices.
- Underproofing the pan rise: If it hasn’t risen above the rim, wait. Otherwise you’ll get dense, squat slices.
- Wrong pan size: A 9×5 gives a classic dome.An 8.5×4.5 works too but may crown higher and bake a touch faster.
Recipe Variations
- Milk-and-Butter Sandwich Loaf: Swap 1/2 cup water for warm milk and increase butter to 3 tbsp for a tender, kid-approved crumb.
- Honey Oat: Add 2 tbsp honey and 1/2 cup rolled oats (lightly toasted). Sprinkle oats on top after brushing with a little water.
- Half Whole Wheat: Use 50% whole wheat flour and add 1–2 tbsp extra water. Flavor is nuttier, crumb slightly tighter.
- Garlic Herb: Add 1–2 tsp dried herbs (rosemary, thyme) and 1 minced garlic clove during mixing.Fantastic for savory toasts.
- Seeded Crust: Brush the shaped loaf with water and roll in sesame, poppy, or sunflower seeds before the final proof.
- Sourdough Hybrid: Replace 1/2 cup water and 1/2 cup flour with 1 cup active starter; reduce yeast to 1 tsp and extend rises.
FAQ
Can I use all-purpose flour instead of bread flour?
Yes. All-purpose flour yields a slightly softer crust and a little less chew, but it’s still excellent. If the dough feels too slack, add 1–2 teaspoons of flour during kneading.
What if I don’t have instant yeast?
Use active dry yeast, but bloom it first in warm water with the sugar for 5–10 minutes until foamy.
Proceed as normal. If it doesn’t foam, your yeast is probably dead—time for a fresh jar.
How do I get a softer crust?
Brush the baked loaf with melted butter right out of the oven and cool under a towel. Skipping the steam and baking at the lower temp the whole time also softens the crust.
Why did my loaf collapse?
Likely overproofed or too wet.
Next time, proof until just above the rim (not wildly ballooned), and make sure the dough is tacky, not runny. A clean, tight shaping also helps structure.
Can I make this without sugar?
Absolutely. Sugar mainly helps browning and gives yeast a small boost, but flour contains enough natural sugars for fermentation.
Your loaf will still rise and taste great.
How do I know when to stop kneading?
The dough should be smooth, stretchy, and pass a rough windowpane test—you can stretch a small piece thin enough to see light without tearing immediately.
Is a stand mixer required?
Nope. This is very hand-knead friendly. If using a mixer, knead on low-medium speed for 6–8 minutes with a dough hook.
What’s the best way to slice cleanly?
Let it cool fully, then use a long serrated bread knife.
Gentle sawing motion, minimal downward pressure. Bonus: wipe the blade after every few slices.
Final Thoughts
Vintage Loaf Pan Bread isn’t trendy, it’s timeless. It delivers a golden crust, a soft crumb, and slices that work for everything from PB&J to steak sandwiches. With a short ingredient list and a simple method, it’s the kind of recipe that becomes “your” bread. Bake it once, and you’ll wonder why you ever settled for store bought. Your toaster is about to get very busy.